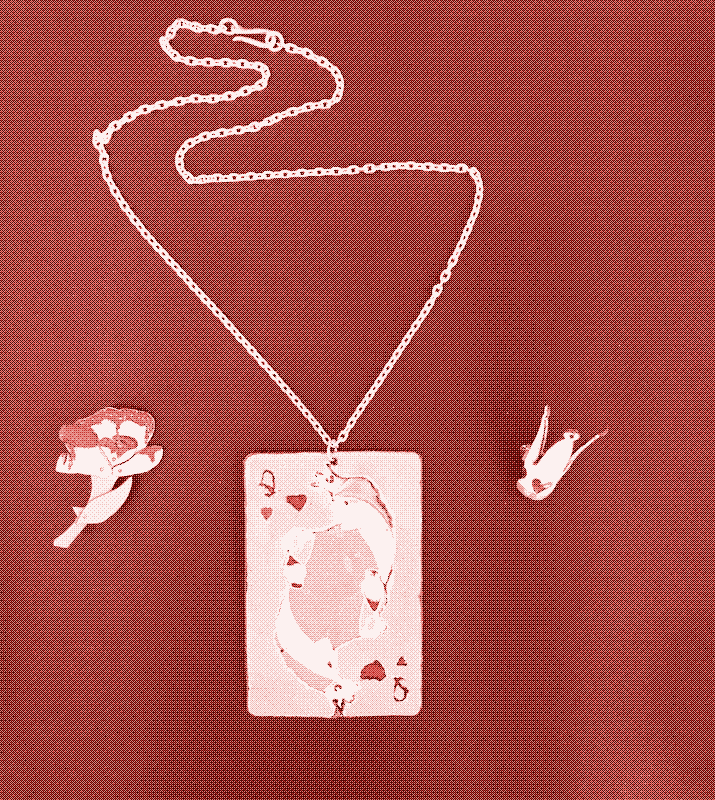
the pendant and the two brooches
abstract
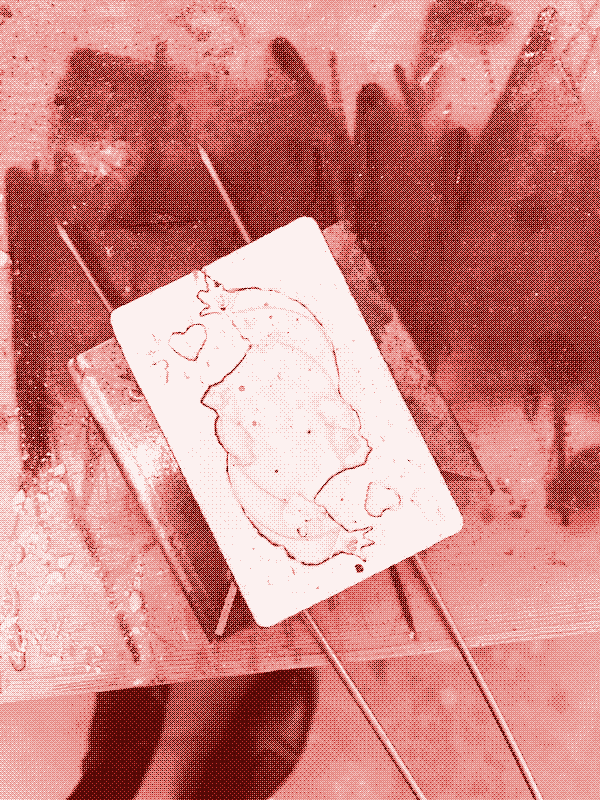
The trio of a pendant and two brooches takes inspiration from the story and illustrations of “Alice in Wonderland”, specifically the character of the queen of hearts and the symbols surrounding her. The pendant represents the queen holding a chopped-off head and is made from using electrolysis to coat a real playing card in copper. This prepares the card for being able to use the traditional Chinese technique of inlay enamel.
The crown as the symbol of power and responsibility at the same time uses enamel glue to make see-through enamel hearts that resemble gems and to fix the enamel powder to its curved shape.
The rose is only halfway painted and stands for devotion to power and the duality of perceived power and control as a ruler. It uses powder enamel on flat surfaces and creates depth by layering multiple pieces.
description
in the context of my student exchange i had the chance to learn different forms of enameling.
the tiles and copper-plated joker playing card
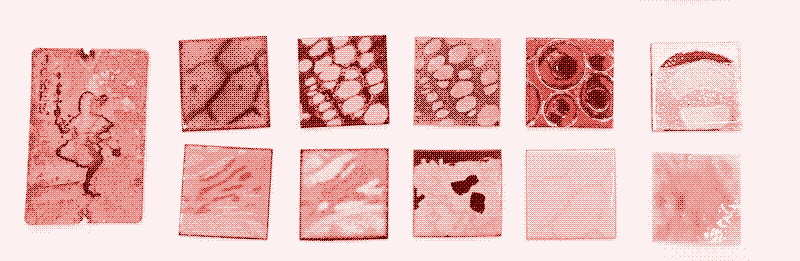
our first task in the third semester course 《珐琅手工课》(enamel class) was to make enamel-coated plates of copper and silver.
taking inspiration from the form and color-scape of cells under a microscope, i started experimenting with different colors, techniques and temperatures.
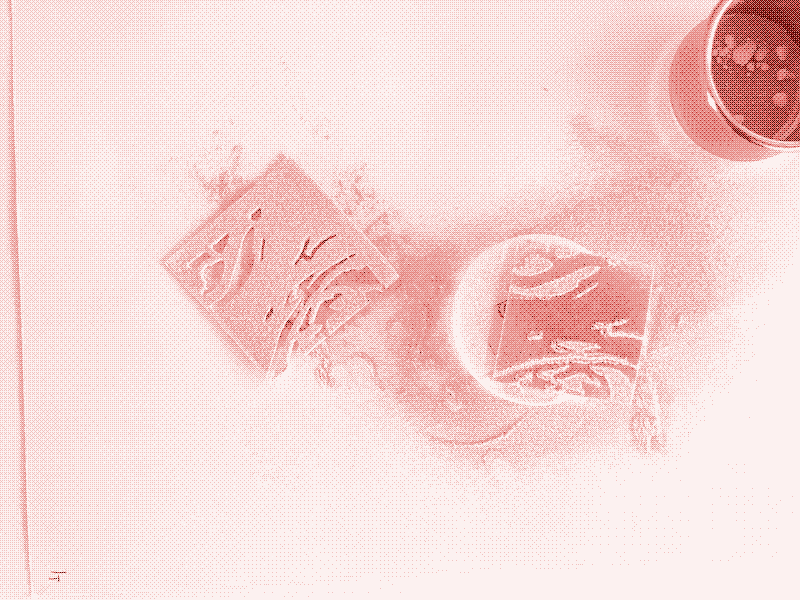
i printed out the simplified designs (in Adobe Illustrator 3-color image conversion) and stuck it to thick paper for cutting out and using as templates.
using test-color-swatches we made as a class, i tried to find the color that would best fit the original.
main homework
for our main homework we got the task to design two brooches and one necklace pendant.
i took inspiration from my tryout on the electrolysis of the joker card and found the topic of the queen of hearts from „Alice in Wonderland“ and her countless depictions.
i first decided to use only four colors for my design: CN-ERP-EL101 || CN-ERP-EL160 || CN- ERP-EL113 || CN-ERP-EL150
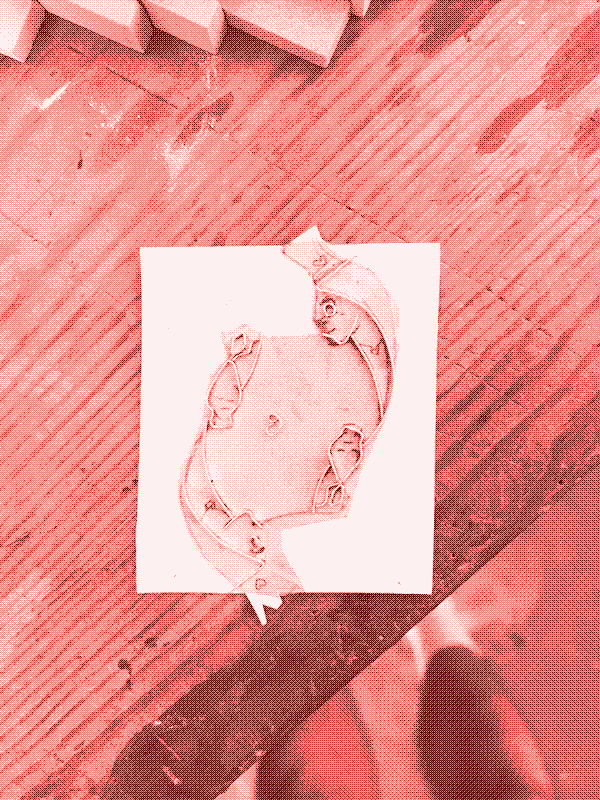
i decided to use electrolysis to transform a playing card into a copper pendant. for this i coated the whole card with lacquer and then silver paint where i wanted the copper to adhere. i drew the outlines of my design onto the card and painted around it so as to have the design to be lower than the background, making the card level after applying the enamel.
i left the card in the electrolysis bath for about 5 hours at 3V.
after electrolysis i burnt out the original card, which was quite challenging, but after two rounds of fire and subsequent acid baths i was happy with the result. i then prepared the silver wire for using liquid enamel
after firing the card once with 铜白. i carefully placed the silver wire on top and burnt the card to make the design sink in. the biggest problem i encountered was that the card was quite thin and would bend while in the oven, so i started to bend it straight as soon as i took it out with two big tweezers.
i then added colors until the spaces were filled and filed down the wire to make a flat surface. i was a little impatient with letting the enamel dry before firing at times, which led to a few holes in the enamel.
for this design i used my feeling mostly for determining the time in the oven, it was all fired at around 850°C and would take around 50“ normally
the crown
the crown is a symbol of power and a reminder of the responsibilities that come with it. for this design i wanted to try to learn hole enamelling. for this i found a video online that helped me a lot: https://www.bilibili.com/video/BV1mT41157H1/ i used a piece of leftover 0.6 copper sheet to cut out and bend the crown. i made holes in the form of hearts i tried to add color on the back on my first crown which destroyed the design on the front and i had to start over. using enamel glue mixed with water i fixed 铜白 on the crown to make the base color, let it dry and fired until the color was uniform and smooth. i then used CN-ERP-EN006 (that i added to the colors since i did not have any transparent colors) mixed with enamel glue to fill the holes in multiple goes following the instructions from the video.
the rose
the rose was painted by the queen’s guards, because they planted white roses instead of red ones as requested. the rose stands for devotion to power and the duality of perceived power and control as a ruler.
it was constructed of 5 pieces that were fixed together using copper wire.
the design was hand-drawn, then cut out of 0.6mm sheet copper.
i wanted to clean the darkened copper on the back of the rose more quickly and placed the pieces in clea- ning acid, which destroyed the glass surface. since i liked the look a lot i left it to be blunt instead of shiny.
impressions
the tile before firing using dry powder and a template

a tile after firing
preparing the silver wire for inletting the design
inletting the wire into the white base